Install SessionCost
Installing has two steps:
- Put SessionCost on your computer, one way: one line, Python (PyPI) or Node (npm). A plugin from your agent (step 2) also does this step for that agent.
- Connect your agent: Claude Code, Codex, Cursor, Antigravity, GitHub Copilot.
Where you type: two different places
Section titled “Where you type: two different places”This page uses two places. They can look alike, but they are not the same.
| Your agent’s chat | A terminal | |
|---|---|---|
| What it is | Where you talk to Claude Code, Codex, Cursor, Antigravity or Copilot. The agent reads what you type and decides what to run | Your computer’s command line. What you type runs exactly as typed; no agent is involved |
| How to open it | Open the agent (in VS Code: click its icon) | Windows: press the Windows key, type powershell, press Enter (or in VS Code: Terminal → New Terminal). Mac: Cmd + Space, type terminal, press Enter |
| How it looks | A message box. Claude Code in a terminal (claude) is also a chat: a > box with a status line under it |
A line ending in > or $ with a folder name, such as PS C:\Users\you> |
| What goes there | Lines that start with /, such as /sessioncost, /livesession, /plugin, and requests in plain words |
Lines that start with python, sessioncost, npx, pip, irm, curl, codex, agy or claude plugin |
If a terminal shows an agent’s chat (for example Claude Code’s > box), type /exit or open a new terminal before
running a terminal line.
Which command to type in a terminal
Section titled “Which command to type in a terminal”The help pages write terminal commands as sessioncost …. Type them the way that matches how you installed:
| You installed with | The report | Turn the guard on | Any other command |
|---|---|---|---|
Way A (one line), pipx or uv tool |
sessioncost |
sessioncost guard on |
sessioncost <command> |
Way B (PyPI, pip) |
python -m sessioncost |
python -m sessioncost guard on |
python -m sessioncost <command> |
| Way C (npm) | npx sessioncost |
npx sessioncost guard on |
npx sessioncost <command> |
On Mac or Linux, use python3 if python is not found. In a chat, the commands are the same for everyone:
/sessioncost, /sessioncost update, and so on.
Step 1: put SessionCost on your computer
Section titled “Step 1: put SessionCost on your computer”Pick one way.
Way A: one line, no Python or Git needed
Section titled “Way A: one line, no Python or Git needed”-
Open a terminal (see above).
-
Paste the line for your computer and press Enter.
Windows
Terminal window irm https://raw.githubusercontent.com/kish21/sessioncost/main/install.ps1 | iexMac / Linux
Terminal window curl -fsSL https://raw.githubusercontent.com/kish21/sessioncost/main/install.sh | sh -
Wait about a minute. It ends with
/sessioncost addedfor each agent it found (Claude Code, Codex, Cursor, Antigravity). Then open a new terminal, so thesessioncostcommand is found.
Way B: Python, from PyPI
Section titled “Way B: Python, from PyPI”Needs Python 3.10 or newer. In a terminal:
python -m pip install -U sessioncost # -U also updates an older copypython -m sessioncost setup # adds /sessioncost to your agentspython -m sessioncostworks even when Windows cannot find thesessioncostcommand (common with the Microsoft Store Python).- Prefer isolated tools?
pipx install sessioncostoruv tool install sessioncost, thensessioncost setup.
Way C: Node, from npm
Section titled “Way C: Node, from npm”Needs Node (with npx). In a terminal:
npx sessioncost setup # answer y if npx asks to install the packageThe first run installs SessionCost once into its own folder, ~/.sessioncost/npm/venv: with
uv when you have it, which also fetches Python for you, otherwise with your Python 3.10
or newer. Your own Python is left as it is. From then on, type npx sessioncost … for every terminal command.
Step 2: connect your agent
Section titled “Step 2: connect your agent”setup (ways A, B, C) already added /sessioncost to Claude Code, Codex, Cursor and Antigravity. A plugin is the
other way: it brings its own SessionCost (step 1 not needed for that agent), but needs Python 3.10 or newer and Git.
Use one or the other in an agent, not both.
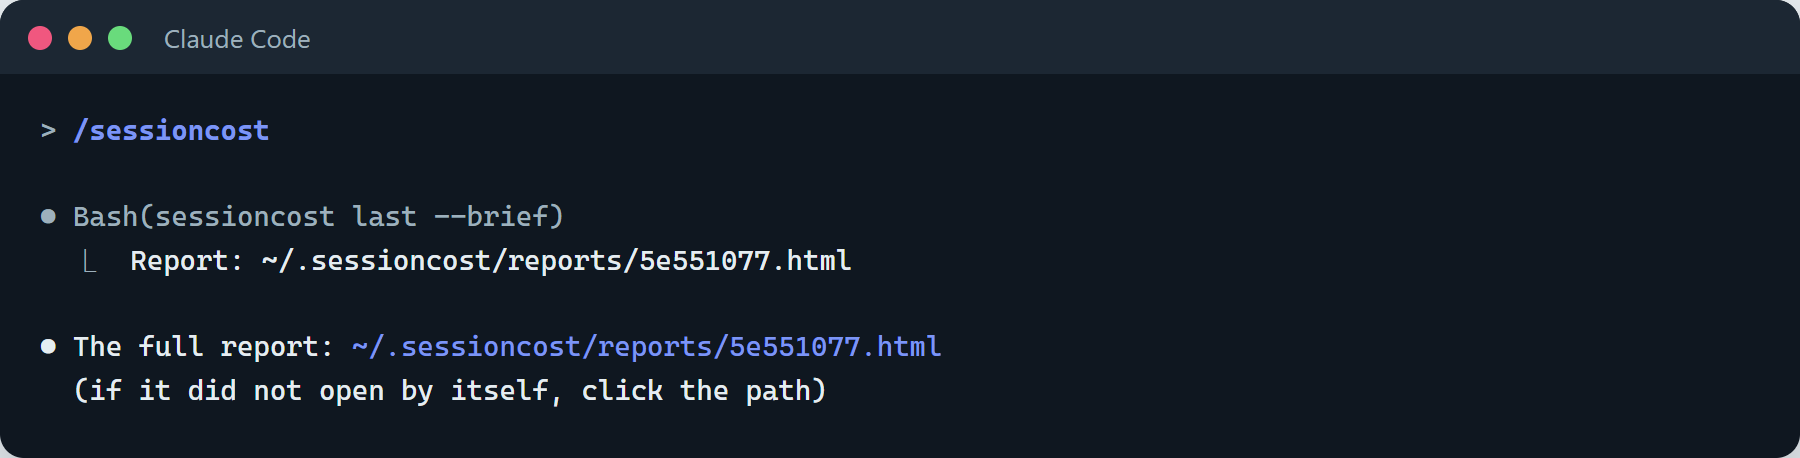
After either, restart the agent, open a chat and type /sessioncost (or ask: “run sessioncost”). The report
opens in your browser.
Claude Code
Section titled “Claude Code”| Where you use it | Plugin install |
|---|---|
Claude Code CLI (claude in a terminal) |
In the chat: /plugin marketplace add kish21/sessioncost, then /plugin install sessioncost@sessioncost. Or type /plugin, open Marketplaces, add kish21/sessioncost, and install sessioncost from the Plugins tab. |
| Claude Code in VS Code (the chat panel) | It has no /plugin. In a terminal: claude plugin marketplace add kish21/sessioncost, then claude plugin install sessioncost@sessioncost. Then reload VS Code (Ctrl+Shift+P → Developer: Reload Window). |
Both share one install: do it once, and the CLI and VS Code both have it. In the chat, /livesession turns on the
guard for every chat, until /livesession off.
- In a terminal:
codex plugin marketplace add kish21/sessioncost. - Codex app: open Customize → Plugins, choose sessioncost, click Install plugin.
Codex CLI: type
/plugins, pick sessioncost, install it. - Start a new chat.
Cursor
Section titled “Cursor”Open Customize → Plugins, choose From GitHub Repository (or Add Marketplace), paste
https://github.com/kish21/sessioncost, install sessioncost and restart Cursor. If no plugin shows up, use
step 1 instead.
Antigravity
Section titled “Antigravity”Command line: agy plugin install https://github.com/kish21/sessioncost, then start a new chat.
Antigravity app: use step 1 instead.
GitHub Copilot
Section titled “GitHub Copilot”Copilot CLI and Copilot Chat in VS Code have no /sessioncost. Do step 1, then in a terminal, in your project
folder, type the report command from the table above (for example
python -m sessioncost): it reads Copilot’s chats too. For the guard, see Agents.
Where /sessioncost is added
Section titled “Where /sessioncost is added”| Agent | Folder |
|---|---|
| Claude Code | ~/.claude/skills/sessioncost (or the plugin) |
| Codex (CLI, IDE, app) | ~/.codex/skills/sessioncost |
| Cursor | ~/.cursor/skills/sessioncost |
| Antigravity | ~/.gemini/config/skills/sessioncost |
Installed another agent later? Run setup again (way A, B or C), or paste the line from way A again.
Stay up to date
Section titled “Stay up to date”The simple way: type /sessioncost update in a chat, or update in a terminal (sessioncost update,
python -m sessioncost update or npx sessioncost update, as in the table).
It updates every copy of SessionCost on the computer, each the right way, and tells you what it did. Then restart
your agent.
| Agent | New versions |
|---|---|
| Claude Code | CLI: once, /plugin → Marketplaces → sessioncost → Enable auto-update; from then on each new version arrives by itself. VS Code: in a terminal, claude plugin update sessioncost@sessioncost. |
| Codex | Codex looks for a new version when it starts. To be sure: codex plugin marketplace upgrade. |
| Cursor | Customize → the marketplace with SessionCost → Refresh. |
| Antigravity, and ways A, B, C | update as above, or install again the same way. |
Next: Your first report.